

Today’s blog post is all about Pinterest, and how tips for how both engaged couples and wedding businesses can make the most of this fantastic tool. I’ve just released a podcast episode today on this topic, and I thought I would share the content here for you as well, in case reading is a more joyful experience for you than listening in (Ep 21).
Now, I absolutely ADORE using Pinterest, and have been for many years – first as a personal user, then as a bride to be, and now as an incredible tool for my business – so you may notice me gushing about it! My goal today is to share some tips and tidbits with you so that you can make the most of it, in whichever form you use it. I’ll start off with advice for engaged couples, and then move on to a section about how to use it as a business owner, and as a wedding vendor in particular.
Hopefully, you’ll find some food for thought here regardless of who you are and how you use it: in fact, I would say that if you’re an engaged couple, reading the part aimed at businesses can help you understand how the content is created, and in turn help you search in a more intentional and targeted way; and similarly, reading the section aimed at couples can help business owners think about how their content is used and found.

PINTEREST FOR ENGAGED COUPLES
So let’s start off with using Pinterest as a bride or groom to be: I would say that it serves two main purposes for you.
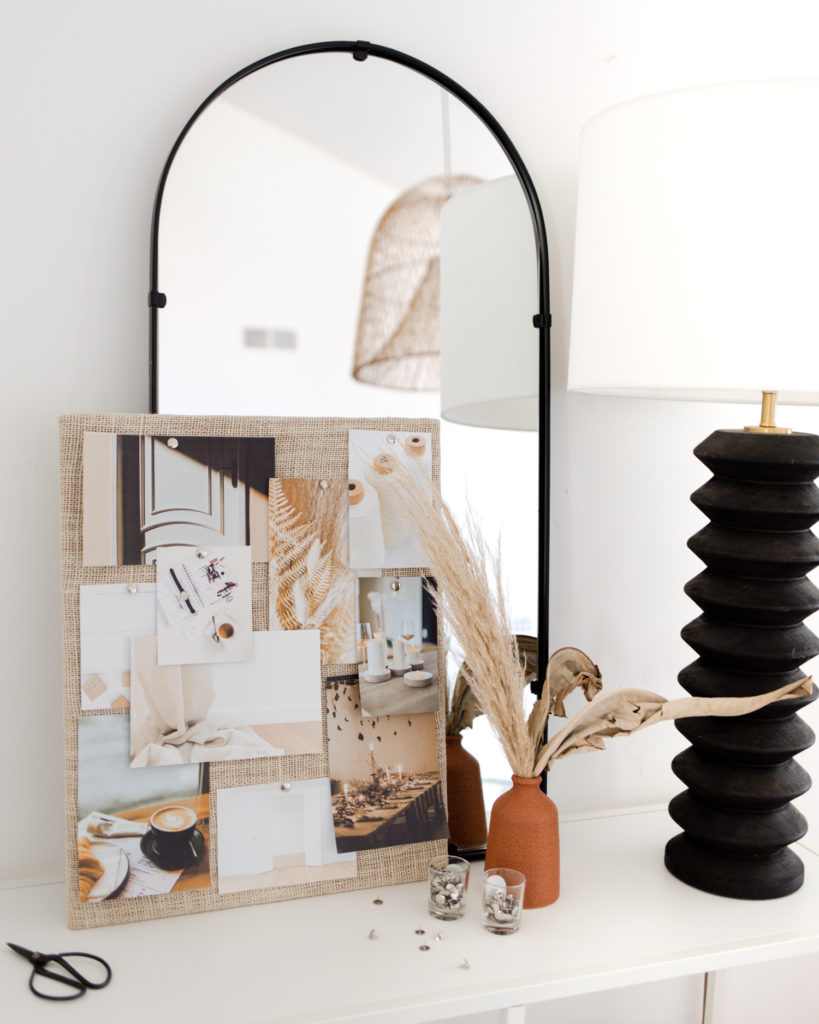
The first one, which most people may already be familiar with, is the power of Pinterest for gathering visual inspiration. If you have started planning your wedding and are in the early stages of brainstorming how you would like it to look, then Pinterest is a TREASURE TROVE of ideas. Start by creating a board, and then – well – start exploring! Use it like you would use a search engine: so maybe you could type “chic city wedding ideas” or “white and gold wedding” or “Santorini elopement” – or literally anything else that pops into your head, and see what comes up. Then you start saving the images you love, pinning them to your board much like you would cut pages and images out of a magazine for a scrapbook. Think of it as a collage of everything that catches your eye. This first stage is likely to send you in quite a lot of different directions, and that’s ok – embrace it – have fun with it – and take the time to really get to know what you love. This may be the first time you’ve thought about what your wedding will look like, or maybe you’ve had a lot of visions of this over the years, but either way I’d recommend taking the time to see what resonates with you right now. Eventually, you’ll start seeing patterns: maybe a colour that comes up a lot, or a style, or a location. Or maybe a particular element: maybe all your images have twinkly fairy lights and warm candle glow, which is a hint that a winter wedding may actually be best suited to you, so you can make the most of that cosy atmosphere. After you’ve spent some time in this “magpie” phase, I would recommend making a NEW board, this time with the goal of refining your first round of pins. Go through your first board, and now only re-pin images to your new board if you absolutely LOVE them. In this new board, I would recommend making sections: call them “Colour Palette”, “Flowers”, “ Stationery”, “Cake”, “Food”, “Dress”, and so on for all the elements of your wedding. Make sure that anything you pin to this new board is in a relevant section. This may seem a bit OCD (and probably is!) but in fact this will be REALLY helpful at a later stage, when you’re sharing inspiration with your vendors. You might save an image of a table because you love the flowers on it, but your stylist may think you loved the cutlery in the table settings. Or you might save an image because you love the overall colour palette, but aren’t that keen on the style. By assigning images to sections you clearly highlight WHAT you loved about the image, which is something future you will be really grateful for!
Ok – so at this point you’ve gone through a few stages of distilling the vibe that you love, and you’re ready to start bringing it to life. The first thing to say about that is that, in some ways, Pinterest can be a bit – misleading isn’t the right word – but certainly context-less. You might LOVE the fullness of the floral arrangement on a table, and assume that that’s the typical size of floral arrangements for wedding tables, for example. In fact, perhaps that particular one was made for a magazine photoshoot, or for a wedding much smaller than yours (where the whole floral budget went into that ONE table), or for a wedding with a budget multiple times what you would be comfortable with. So you might wonder – how can I know whether what I see is something I can afford? The truth is – to start with, you won’t be able to get a sense of that just by looking at it, BUT by doing some research, and speaking openly to suppliers, you’ll start to learn more and more about the cost of everything. Let your suppliers guide you: show them your inspiration, discuss your budget, and let them give you an overview of what is and isn’t feasible – and suggest workarounds too. If you are working with a planner or stylist, he or she will be able to give you plenty of guidance on this, and give you realistic and helpful advice on every element of your wedding. It’s all about making impactful decisions, and aligning your vision to your budget as much as possible, or viceversa. Certain elements only work for certain venue types for example, or certain venues only for certain seasons, or certain looks require a higher investment, and so on. This kind of open brainstorm may lead you to reassess your original vision: for example, if you LOVE flowers and want them to be everywhere, but your budget wouldn’t allow for that with the guest numbers you currently imagined having, you might realise having a smaller but more stylistically curated wedding is actually more suited to you. Or if you thought you’d have a city wedding because it’s easier but all the pins you’re saving are of forests and mountainous views, then that’s a sign to follow your heart to a wilder wedding.
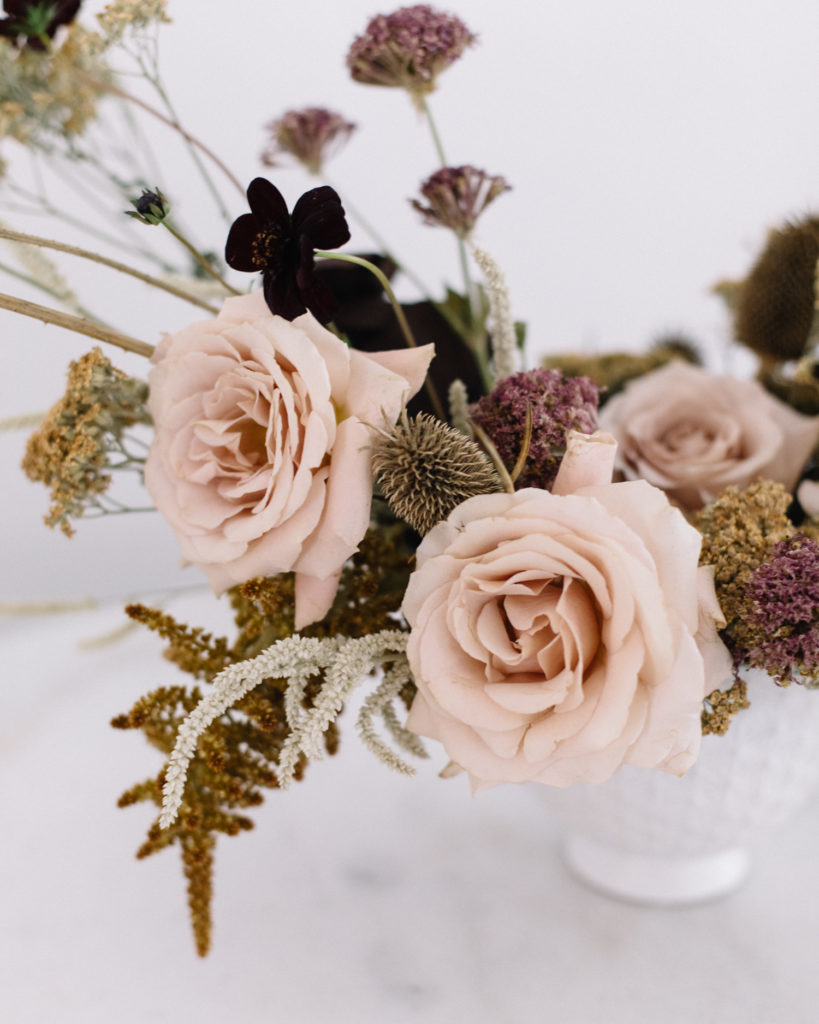
So I suppose my advice boils down to: listen to what you are pinning, but also keep an open mind about adapting the things you love to YOUR wedding. Pinterest is a melting pot of ideas that can help you colour in what your unique celebration will be. What it shouldn’t be is a source of pressure or expectation: for example, just because the most pinned images of wedding flowers have immense installations of the most expensive roses and orchids – that doesn’t mean that’s what a wedding should be or needs to be. You could have minimalist arrangements that are just as sophisticated and timeless and also totally original. Your celebration should reflect your own values, your priorities, your personalities, and of course the investment YOU are comfortable making. There are NO rules. Every single wedding is beautiful because it’s completely irreplaceably unique – your love story isn’t like anybody else’s so why should your wedding be? Certain looks and details can turn into trends, sure, and by all means do embrace them if you love them – but try to let go of the idea of what is “in” or “trendy” and ask yourself what YOUR definition of beauty and luxury is, rather than feeling like your wedding needs to look like anybody else’s. Decades from now, you’ll look back and remember choosing all the things you loved the most, and telling YOUR story. And that’s the most special thing there is.
A little while ago I said Pinterest has two functions for engaged couples – the first being inspiration gathering. The second is actually FINDING your suppliers. Best practice on Pinterest (though not everyone does this of course!) is that every image should link back to its source – which might be a blog article, a website, an Instagram post, and so on. If you see something you love, follow the trail of links: click on the image and see where it takes you. Scroll around the page – can you spot credits of the team who worked on that wedding? It might that the stylist who designed that particular wedding isn’t based in the same country as you, sure, but they might work internationally and would love to hear from you. Or you might follow them on Instagram, and in doing so, discover more stylists in a similar vibe. Maybe you click through and the image doesn’t lead anywhere helpful – but you might discover that the person who saved that pin is herself a wedding florist, gathering inspiration for her work. If she loves that pin, her work is probably of a similar style, and she would probably LOVE to flower your wedding if she covers your area. If you dig a little deeper, the beautiful feed of pretty that is Pinterest turns into a wonderfully useful database of people. If you want to use it in this way, try adding terms to your search that narrow down the geographical area: so for example “modern wedding florist London” or “vegetarian wedding catering Scotland”. Pinterest has keyword and hashtag algorithms at its base, which means by including location names you’re more likely to discover suppliers local to the area you are interested in.
In a somewhat reverse way, you can also use Pinterest to get to know a supplier you are considering. If you’ve come across a few different stationers for example and are choosing between them, it can be useful to head over to their pinterest account (which may linked from their website, or if not, can be found by just searching for their business name). You’ll see here a really good overview of the style of work they do but also everything else that inspires them – it’s a really useful and fun way to see if you have common interests and whether they’re a good match. Much like an Instagram feed is their shop window, as it were, their Pinterest profile is like their favourite bookshelf – a mix of work and personal stuff that says a lot about the visual things they resonate with. Remember that your suppliers will end up being much more than just faceless makers – choosing vendors that you click with, that get you and your vision, and whom you enjoy speaking to will make your journey so much more enjoyable, fun, and easy too. If you are an engaged couple, and would like any guidance or advice on using Pinterest throughout your planning journey, do get in touch – I would love to help if I can!
PINTEREST FOR WEDDING BUSINESSES
Ok – let’s move on to using Pinterest as a business owner, particularly as a wedding professional. Obviously, like any social media platform, the rules and algorithms are everchanging – but I’d love to talk a bit about what has worked for me over the last year and a half. If you’re listening to this episode, you probably don’t need me give you statistics on WHY leveraging Pinterest as a business tool is a good idea: the summary is – a LOT of people use it, and they use it in a very constructive way at times in their life when they are joyfully looking for the services you provide. It’s free – though can advertise on it if you wish (full disclosure, I haven’t spent anything on Pinterest ads yet) – and it’s not complicated. All it requires is an investment of time, not even that much, and doesn’t even tax you with crippling self-doubt like Instagram does. Yay! You might be thinking – I don’t have time – and I don’t want another account to look after. Believe me, I 100% get that – and honestly, it might be that it’s not right for you. I know people say to pick TWO social media platforms to focus on, and do well, rather than spreading yourself too thin. For me, those are Instagram and Pinterest because they’re the most visual, the most suited to my ideal client, and the most fun (and sustainable) for me. You might love Facebook and Twitter – or TikTok and SwapThat. That last one doesn’t exist, I made it up. Anyway, point being – you can choose to focus on whatever is right for YOU and your people. This is just me putting in a little vote to encourage you to consider Pinterest as one of those two that you spend time on.
By using it fairly consistently (like, not religiously, but mostly consistently) and with a little bit more intention than I did before (and I’m not talking like crazy rocket-science strategies) I went from a monthly audience of around 10k to 1m in about 6 months. Since then, I’ve been keeping it ticking steadily around that mark – some months its 900k, some months it’s 1.3m. The oscillations reflect the amount of time I have, the amount of content I have, and also just how people are feeling – 2020 didn’t really put people in the mood to plan and daydream, so I suspect that has something to do with it too! But, despite that, Pinterest is the single best thing that is leading people to my website. My Google Analytics tells me that, in 2020, social media was the highest source of website traffic for me, at about 40%. Of that 40% that came from social media, 86% came from Pinterest. Compare that to just 5% from Instagram. Admittedly, a higher percentage of my actual enquiries come from Instagram than Pinterest, because a lot of Pinterest users are, of course, just browsing and not looking to hire a wedding planner. But I do get enquiries and bookings directly from Pinterest, and it’s significantly less effort and a more pleasant experience for me than Instagram, which means I’m very happy with that balance.
Let’s move on to actual tips! So, there are a few basic things I would recommend doing rigth away, which you probably have already come across if you’ve read or heard any other Pinterest advice pieces – but I’ll repeat them here briefly. The first is to make sure you have a BUSINESS ACCOUNT. If you’re not sure if you do, you can check easily by making sure you have a ‘business name’ field at the top when you click through to edit your profile and also that you have ‘analytics’ as a menu option when you click on your name (at the top right). If you have a personal account, definitely convert it to a business one by clicking through to your account settings. If you don’t want to lose your personal one, you can also create a new business profile which is entirely separate or a business account that is linked to your personal one (instructions here). With a business account, you’ll have a lot more visibility on your audience insights, more options, and access to cool features – so definitely make sure you do this. If you do, but you feel like you’ve never used any of the business features, now is the time to go have a play. Click through all the menus and get yourself familiar with it – there are so many free tools, and being comfortable with the analytics screen will allow you to learn how to make the most of all of it.
The next thing I’d recommend is to make sure all your information is thorough, clear, and up to date. Make sure you claim your website, as well as link your account to your other social media profiles, both of which you can do in in the “Claim” section of your account settings. In the “Edit profile” section, make sure you upload a smiley, professional headshot of you as your profile picture, so users can get familiar with you right away when they access your page. Or alternatively, set your picture as the cover, and your logo as the profile photo. Make sure your email is on there, and do enter a few lines in the “About” section which succinctly describe what you offer and who it’s for. The goal with all this is to make sure you do your business justice with a profile that feels professional, active, and tidy. The next step is to review your boards: if you’ve been using Pinterest for a while, passively, you may have ended up with a lot of boards that are no longer aligned with your brand aesthetic or, if you’re like me, boards with cute names full of symbols. Take a look at it and imagine you were curating a magazine: make sure each board has a clear name that actually describes what is inside, and archive anything that doesn’t fit with your brand (or switch it to a secret board).
By this, I don’t mean get rid of everything that isn’t weddings – I actually think it’s great to have boards for other topics, particularly as this will all help to connect you with clients who share the same interests as you. I have boards for fashion, for interior design, for illustrations, and of course LOADS of wedding boards. Think of naming them in ways that are helpful for people searching for that content. That’s actually one of the things that I think really sets Pinterest apart – it’s all about making the experience as positive and easy as possible… it’s not about likes, or comparing yourself to others, or popularity contests. It’s about creating beautiful things and inspiring people to use their imagination, to use their hands, and to bring to life their ideas. So when you’re creating content for this platform, really think about this way: beautiful content that is pleasant to scroll through and easy to find.
Now, you might be wondering what I mean by creating content – the step that sets a passive user apart from an active creator is precisely this: feeding YOUR work, your images, your new content into the Pinterest ecosystem. So how much should you pin and how often? The guideline I’ve been following is, pin as much as you can reasonably be consistent with. If 5 pins per day seems plausible, start there. If 30 pins per day is more your speed, then great. Just stick to whatever you can consistently do. In terms of the ratio of your content vs other people’s content, the optimum number seems to change over time – but the important thing to keep in mind is, again, consistency, and also the fact that re-pinning is an important part of the way the platform works. Even if you had an infinite bank of images so that you could realistically upload 30 new images every single day, it would still be better for your account for you to pin 25 or your own and re-pin 5 of other peoples. Pinterest wants to see its users contributing fresh content but it also wants to see the re-sharing of existing content to wider audiences.
So how do you pin new content? Simple, you just click “Add pin”, upload the image, write the description and title, add the link (your website, or one of your blog posts, or a particular page of your website), decide which board it goes to, and click publish. Ok, but who’s got the time to individually upload 30 images every day? Well, kind of nobody. The secret to using Pinterest consistently is making it as easy as possible, and, for me, that boils down to two tools. The Pinterest extension for Chrome, which effectively adds a little save button which allows me to pin ANY image from any website I’m currently viewing through my browser, and – the key one – Tailwind. Tailwind is a social media scheduler that you use on your desktop. Now, I’ll confess that the idea of scheduling posts doesn’t quite sit that well for me – for Instagram, I prefer to share content day by day, based on how I’m feeling. I don’t use a scheduler for anything else, but I do use Tailwind because it’s – frankly – a godsend. I won’t go into the detail of how to use it right now, but I will say that effectively it allows you to bulk upload loads of images at once, add them to boards all at once, and plan your publication calendar. Not only that, it helps you schedule pins at the times that work best for your audience, schedule pins from other sources, and it also gives you advice on how to improve your profile. There is an analytics element to it as well, and a community element if you wish, but, at its core, it’s effecively a really helpful way of making sure you stick to the number of pins you want to publish each day. In my case, that’s 30 pins a day.
It might seem like 30 in a day is a lot, but let me walk you through some easy sources:
- You can pin images while you’re browsing the Pinterest home page, which is designed to show you pins similar to ones you have already saved.
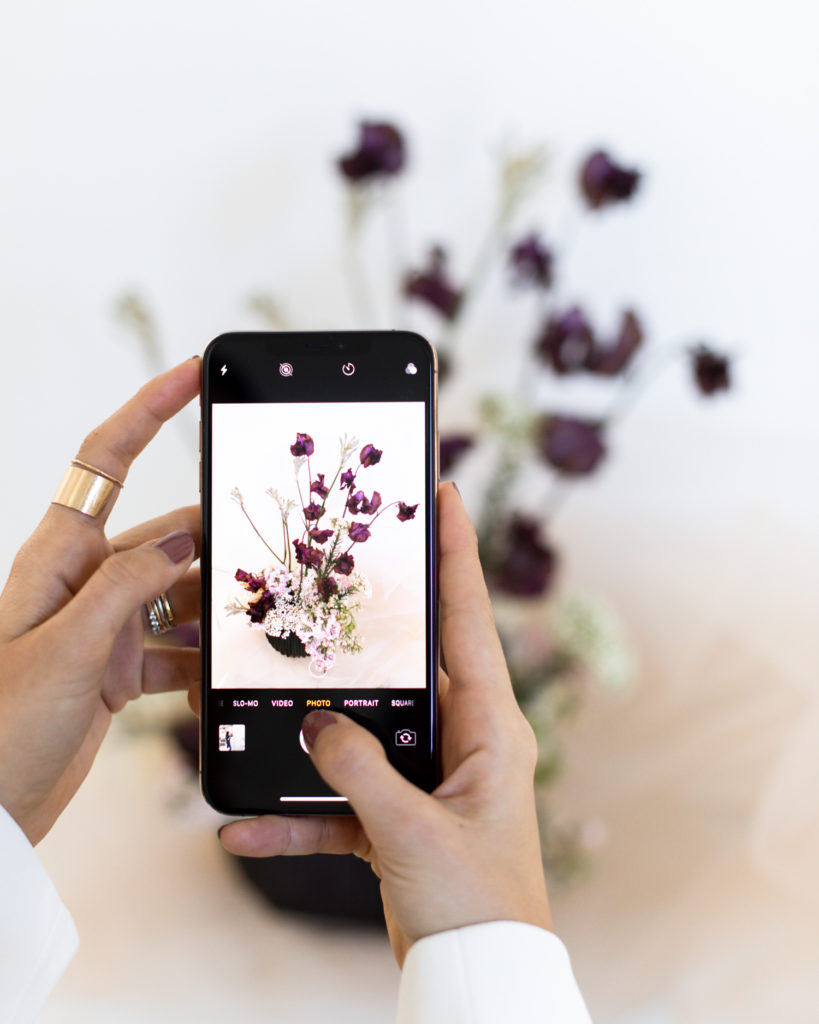
- You can add images from your own portfolio. When choosing which images from your portfolio to upload, try to prioritise VERTICAL images in portrait orientation, as these tend to do much better (as they are much easier to view). Bright and clear imagery tends to do best, and if there is any text overlay, just make sure it’s not too overwhelming and the image is still clearly visible.
- You can add images from any weddings you’ve been involved in, where you have permission to.
- You can add images from any photoshoots you’ve been involved in, where you have permission to.
- You can pin from the Tailwind Communities tab, which basically are like groups where memebers repin each other’s images.
- You can open up your favourite blogs and schedule images from there (so for example, open up Rock My Wedding or Junebug Weddings, click on the latest weddings or shoots featured, and pin directly from there).
- You can pin directly from Instagram, your own or other people’s.
- You can jot down board ideas that serve your clients: so for example, you might be a wedding florist serving the London area. That doesn’t mean all your boards need to be flowers! You can make boards for anything that inspire your ideal client and that they are likely to be looking for. Maybe today you make a board for wedding rings, and all of this week’s scheduled pins focus on that. Maybe next week it’s cute wedding sparkler shots, or wedding dresses, or wedding invitations, or summer wedding ideas. Seasonal boards do really well, and are a great way of having content that gets found year after year. The more useful content you can create and share, the more likely you are to be found by couples that are looking for you.
- Any image from any website is a potential pin which you can schedule. You’ll see that once you think of it this way, 30 images in a day is actually totally doable. You probably see any more than that in a day that you’d be happy to save!
Everything I’ve said above about images is equally valid for videos – which can be uploaded, repinned, and shared in the same way. From my experience, videos do really well, gathering loads of views even more quickly than images, which makes this another really great way to use this tool. Short, portrait-orientation videos, like the ones you might share to your stories or IG reels are perfect for Pinterest.
Of course, you still need to write descriptions and titles for the pins you schedule, if it is brand new content you are uploading (if you are repinning other people’s content, those probably already have titles ad descriptions, though you may choose to add more text if you want it to be more thorough or detailed). This does take time, but at least with Tailwind you can do a lot of copying and pasting. So for example, I might be uploading 100 images from a recent photoshoot. The first part of the description might be the same for all of those – like “boho natural wedding inspiration”. Then maybe 10 of those images are stationery, which will likely have very similar descriptions which you can copy, paste and tweak. Then all the images of the flowers, and so on and so forth.
As for the text itself, there are a few tips here.
- Make sure the title is compelling and clear, with search terms that users are likely to be using;
- Make sure the image description describes what is actually in the image, and includes natural language (so full sentences, not lists of words). Give descriptions to each of your boards as well, again using natural, useful sentences;
- Do include hashtags in your descriptions, but keep them general, and don’t worry about using more than 5 or so. So something like #bride #weddingideas #pinkwedding are all perfectly acceptable and useful for Pinterest;
- Make sure the link you add is a relevant one. If you’re adding an image of a recent wedding, make sure it links to the page of your website which includes the gallery of that wedding, or a blog post where you discuss that wedding. Just linking EVERY pin you add to your homepage isn’t as helpful as making sure every pin actually takes the user to the MOST relevant page on your website to that pin.
If there’s one thing I would love you to take away from today’s blog post, it’s not to be afraid to play around with this platform and really get familiar with it. It’s simpler than you think, and less time consuming than you think. There are plenty of cool features I haven’t even mentioned yet, like changing your cover to a video, story pins and rich pins, the shop function, rearranging which boards are featured at the top of your profile, or inviting others to your boards. There is so much you can do, and so many ways that this can help you establish your brand identity and connect you with amazing couples. Once you’re comfortable with it, you’ll be able to share boards with clients, and even teach them to make the most of it as a tool for their own wedding – which they’ll love.
From a practical perspective, once you have scheduler set up, boards you can add to regularly, and a well-populated profile, you’ll start noticing an uptick in that “unique monthly viewers” number under your name, which in turn will mean more eyes on your website, and more wonderful clients coming your way. Anyone coming across you will see a professional, well-established, active Pinterest user who serves them with lots of wonderful inspiration – and that’s exactly the kind of value and trust-building that leads to happy, successful client relationships.
I’m gonna wrap up there today, but I hope this has given you a starting point – maybe you’ve been meaning to give your Pinterest account a bit of TLC, maybe it’s a lockdown project, maybe you got engaged at Christmas and you’re starting some fun inspiration research, or maybe you’ve been using it for a while and are wondering if there’s more you can be doing with it. Either way, I really hope there’s been some food for thought. If you enjoy this episode and it’s helpful for you, please let me know! I would love to hear your feedback, and would also love to know if there’s interest out there for me to cover this topic in even more detail.
Yours,
Valentina


")


